UI 테스트 StoryBook
June 22, 2021
이전 jest와 React-testing-library를 통해 로직이나 사용자의 이벤트에 따라 빠르고 간단하게 형성되는 jsdom을 통해 테스트해 볼 수 있었다.
다만 조금 아쉬웠던점이 UI의 스타일과 같은 모든 요소를 테스트하기에는 부족함이 있었다.
따라서 이에 적합한 StorBook 테스트 라이브러리를 사용해보기로 했다.
🍗 셋팅
npx -p @storybook/cli sb init 명령어로 기본적인 셋팅을 할 수 있었는데, 이 명령어로
- .storybook
- main.js
- preview.js
형식의 디렉토리가 생성되었다.
🍖 main.js
storybook의 실행 환경을 조성하는 config파일과 유사한 기능을 하는것 같다.
여기서 storybook을 사용하는데 이로운 도움을 주는 모듈들을 addon이라고 하는것 같다.
module.exports = {
  stories: ['../src/**/*.stories.mdx', '../src/**/*.stories.@(js|jsx|ts|tsx)'],
  addons: [
    '@storybook/addon-links',
    '@storybook/addon-essentials',
    '@storybook/preset-create-react-app',
  ],
  typescript: {
    reactDocgen: 'none',
  },
}
🥩 preivew.js
본래 parameters 상수만 export되는 파일이였지만, 이 프로젝트에서는 Redux나 styled-componenta와 같은 Provider들이 사용되고 있어서, storybook을 실행하여 테스트할 때 위의 wrapper로 감싸주는 역할을 필요했다.
이를 위한것이 decorators였고, 마치 jest에서 다른 Provider들로 감싸진 custom render을 만드는것과 유사했다.
import React from 'react'
import { ThemeProvider } from 'styled-components'
import { BrowserRouter } from 'react-router-dom'
import GlobalStyle, { THEME } from '../src/global-style'
import { Provider } from 'react-redux'
import { store } from '../src/store/index'
import '../src/style/fonts.css'

export const parameters = {
  actions: { argTypesRegex: '^on[A-Z].*' },
  controls: {
    matchers: {
      color: /(background|color)$/i,
      date: /Date$/,
    },
  },
}

export const decorators = [
  Story => (
    <Provider store={store}>
      <BrowserRouter basename={process.env.PUBLIC_URL}>
        <ThemeProvider theme={THEME}>
          <GlobalStyle />
          <Story />
        </ThemeProvider>
      </BrowserRouter>
    </Provider>
  ),
]
🍤 컴포넌트 UI test
컴포넌트에 전달되는 속성에 따라 어떻게 UI가 그려지는지 테스트를 할 수 있다.
🥚 styles.tsx
해당 스타일에서는 ThemeProvider에서 theme를 통해 공통 변수에 접근할 수 있는데, 이를 위해서 위의 decorators의 설정이 필요한 것이다.
import styled, { css } from 'styled-components'

const containerType = {
  normal: css`
    .img-container {
      width: 12%;
      min-width: 40px;
      margin-right: 0.5rem;
      img {
        ${({ theme }) => theme.contentBox}
      }
    }
  `,
  collection: css`
    .img-container {
      display: none;
    }
  `,
}

export const Container = styled.article<{ hover: boolean; type: string }>`
  display: flex;
  align-items: center;
  position: relative;
  padding: 0.3rem;
  border-radius: 3px;

  cursor: ${({ hover }) => (hover ? 'pointer' : '')};
  background: ${({ theme }) => theme.backgroundColor.darkLow};
  ${({ type }) => {
    const index = type === 'collection' ? type : 'normal'
    return containerType[index]
  }}
`

const descType = {
  normal: css`
    width: calc(88% - 0.5rem -0.1px);
    min-width: calc(100% - 0.5rem - 40.1px);
  `,
  collection: `
    display: flex;
    div:first-child {
      margin-right: 0.3rem;
    }
  `,
}

export const Desc = styled.div<{ type: string }>`
  ${({ type }) => {
    const index = type === 'collection' ? type : 'normal'
    return descType[index]
  }}
`
🍳 stories.tsx
실행되는 StoryBook에서 분류할 title과 사용할 컴포넌트를 지정해주고, args는 갖고있지 않은 껍데기의 Template을 생성해준다.
import React from 'react'
import ListItem from './index'

export default {
  title: 'ListItem',
  component: ListItem,
}

const Template = args => <ListItem {...args} />

export const DetailNormal = Template.bind({})
export const NoDetailNormal = Template.bind({})
export const GetCollection = Template.bind({})
export const NoGetCollection = Template.bind({})
이후에 상황에 맞는 args를 각각 binding해주는 방식이다.
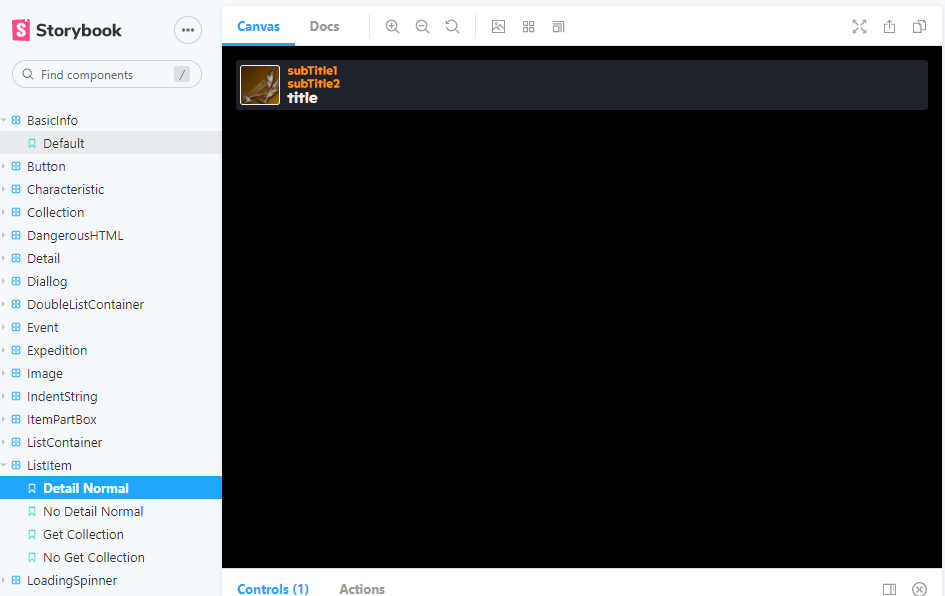
🥓 DetailNormal
DetailNormal.args = {
  data: {
    backSrc: `${process.env.PUBLIC_URL}/img/bg-item.png`,
    detail: {
      grade: 4,
      src: `${process.env.PUBLIC_URL}/img/item.png`,
      subTitle: ['subTitle1', 'subTitle2'],
      title: 'title',
    },
  },
}
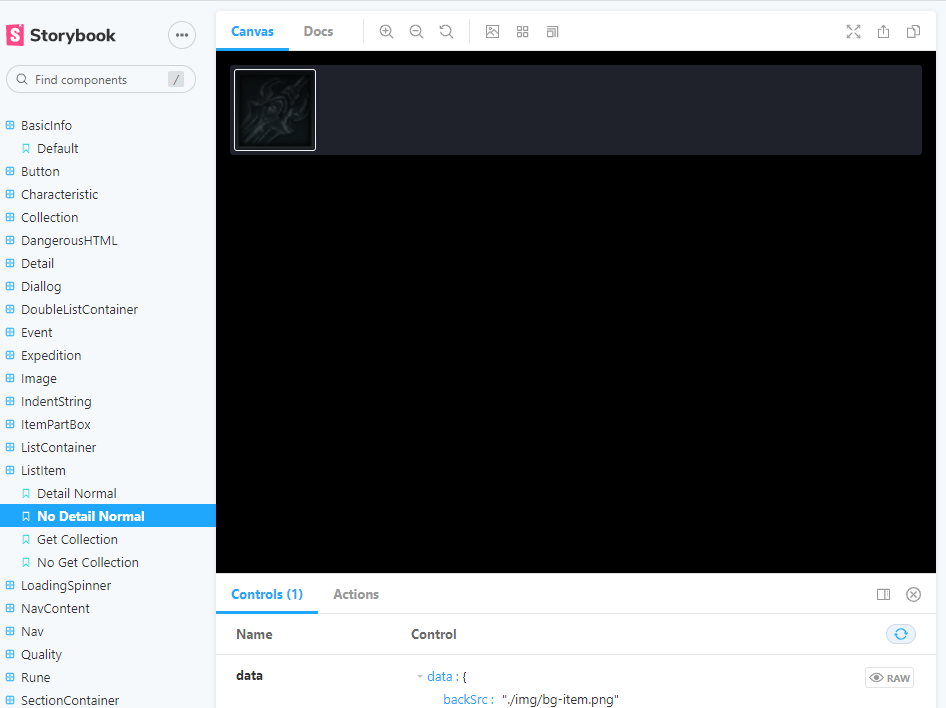
🍔 NoDetailNormal
NoDetailNormal.args = {
  data: {
    backSrc: `${process.env.PUBLIC_URL}/img/bg-item.png`,
  },
}
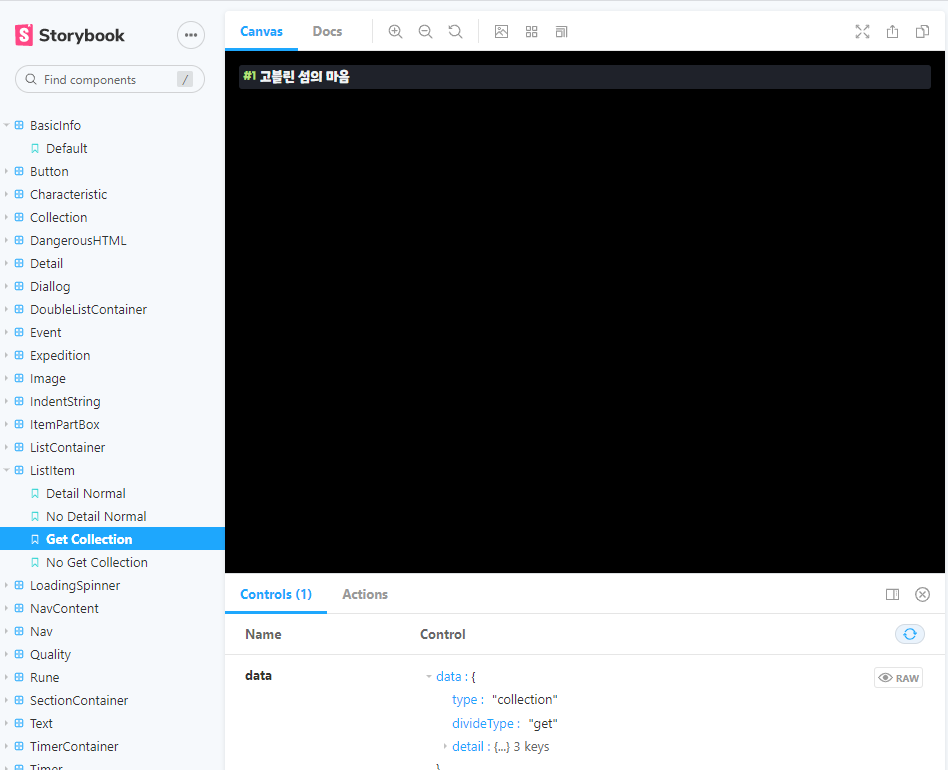
🍟 GetCollection
GetCollection.args = {
  data: {
    type: 'collection',
    divideType: 'get',
    detail: {
      subTitle: ['#1'],
      title: '고블린 섬의 마음',
      grade: 'get',
    },
  },
}
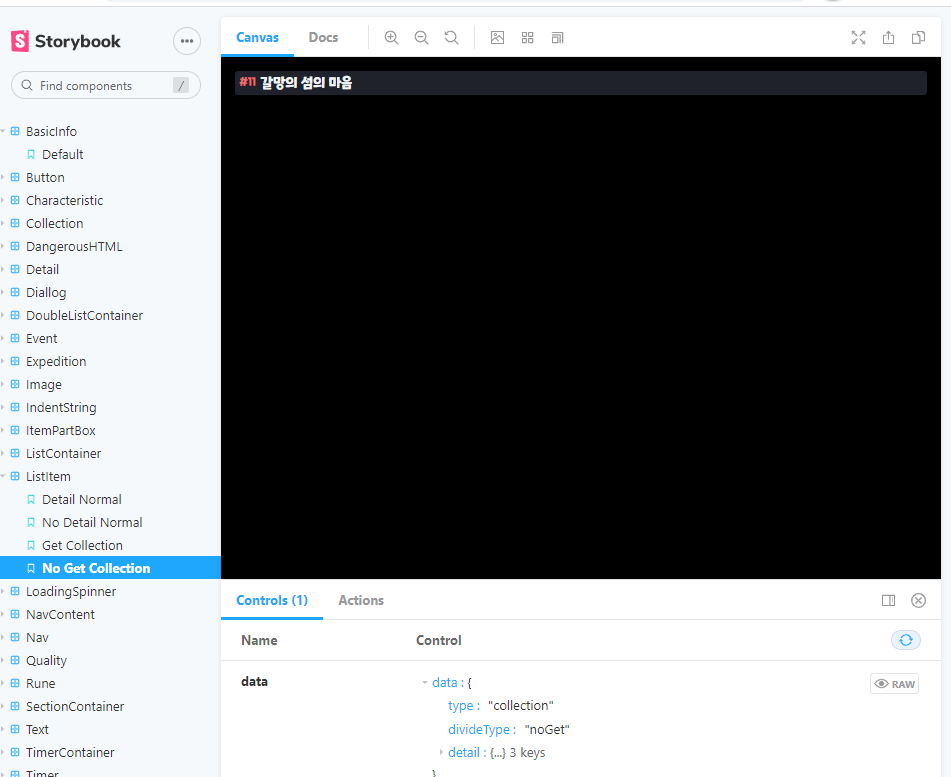
🌭 NoGetCollection
NoGetCollection.args = {
  data: {
    type: 'collection',
    divideType: 'noGet',
    detail: {
      subTitle: ['#11'],
      title: '갈망의 섬의 마음',
      grade: 'noGet',
    },
  },
}
하단 controls 속성을 변경하여 UI를 확인할 수도 있다.
🍕 결론
jest나 StoryBook과 같이 테스트를 진행해보면서 느낀점은, 별도로 프로젝트를 실행해보고 수정할 필요 없이 더 빠른 속도로 변화를 테스트해볼 수 있다는 점이였다.
물론 하나의 컴포넌트를 생성하는데에는 더 오랜 시간이 걸리겠지만, 한번 작성하고 난 뒤 유지보수를 하는 데에는 큰 이점이 있을듯 하다.